Getting Started with Night Photography.
Gear
Photography
Tips & Advice
Tutorials
Gear Focus
Jan 28, 2021
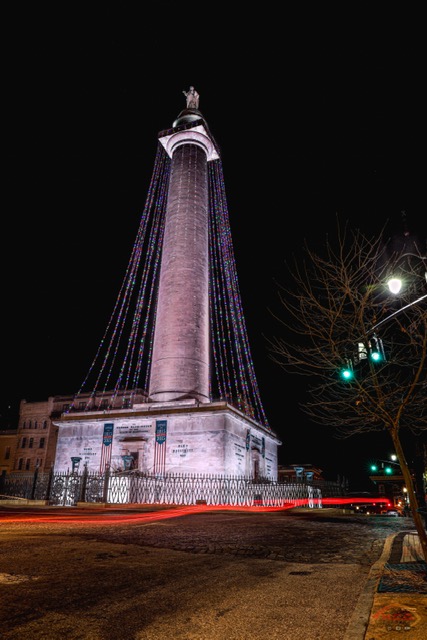
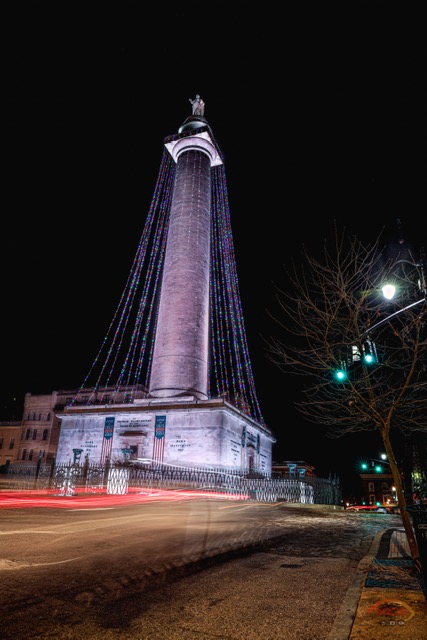
When the sun goes down, most photographers pack their camera gear up. But oftentimes for me, that’s when the fun begins. Night photography is a fantastic way to tell a unique story. For this blog, when I talk about night photography I’m speaking about long exposure photography and its ability to capture motion. However, many of the tools and techniques you learn in night photography can be used in other styles as well.
https://www.youtube.com/watch?v=JJdA1eRFN6k&t=1s
 Tripods are an all-important piece of the equation as well. My one main bit of advice is to invest in something that you feel comfortable putting your camera and lens on top of. Make sure you get a tripod that is sturdy and will hold the weight of your gear. I prefer carbon fiber tripods because I travel a lot, so the weight-savings are important to me.
Aluminum tripods are less expensive but weigh more and are also colder to the touch in the wintertime. A headlamp is simply a great tool to have so that you have a hands-free light source in dark areas. I prefer headlamps with the red light so you can work at night and not lose your night vision.
Tripods are an all-important piece of the equation as well. My one main bit of advice is to invest in something that you feel comfortable putting your camera and lens on top of. Make sure you get a tripod that is sturdy and will hold the weight of your gear. I prefer carbon fiber tripods because I travel a lot, so the weight-savings are important to me.
Aluminum tripods are less expensive but weigh more and are also colder to the touch in the wintertime. A headlamp is simply a great tool to have so that you have a hands-free light source in dark areas. I prefer headlamps with the red light so you can work at night and not lose your night vision.
 There are certainly reasons why you would change the aperture from a creative standpoint, but I try to stick to F9-F11 to ensure the sharpest images possible. If you need to stop down further to get a longer shutter, go for it. Just remember that diffraction starts to come into play depending on your lens.
Whereas with other types of photography your shutter speed is generally used to stop motion, with night photography it is used to capture motion. That means we are generally talking about shutter speeds of 1 to 10 seconds or more. If you start with ISO100 and F9, you will quickly find the shutter speed where your photo is properly exposed. Don’t forget to use your histogram.
If I use shooting car trails as an example, then the shutter speed will coincide with the length of the car trail. If you find that you cannot get a long enough car trail because of the shutter speed, you can stop the aperture down to get a longer shutter. This is very similar to how you would shoot a long exposure with a waterfall or a moving body of water.
There are certainly reasons why you would change the aperture from a creative standpoint, but I try to stick to F9-F11 to ensure the sharpest images possible. If you need to stop down further to get a longer shutter, go for it. Just remember that diffraction starts to come into play depending on your lens.
Whereas with other types of photography your shutter speed is generally used to stop motion, with night photography it is used to capture motion. That means we are generally talking about shutter speeds of 1 to 10 seconds or more. If you start with ISO100 and F9, you will quickly find the shutter speed where your photo is properly exposed. Don’t forget to use your histogram.
If I use shooting car trails as an example, then the shutter speed will coincide with the length of the car trail. If you find that you cannot get a long enough car trail because of the shutter speed, you can stop the aperture down to get a longer shutter. This is very similar to how you would shoot a long exposure with a waterfall or a moving body of water.

Getting Started
What Gear Do You Need?
As far as the gear, we will be talking about DSLR or Mirrorless cameras in full manual shooting mode. I have grown to prefer Mirrorless, but any camera will do. Aside from the camera itself, there are five main things that you need. You need a lens, memory card, battery, tripod, and headlamp. The reason I mention a memory card and battery, even though they mean seem obvious, is because you want to remember to have charged batteries and space on your memory card. An extra battery and a memory card are always a good idea no matter where you are shooting. Without those two things, your camera is not going to function. I usually prefer zoom lenses for night photography. Although any lens will work, a zoom lens offers you more flexibility, convenience, and composition options. Many times at night you will not be able to stand in the ideal place, so a zoom lens can help with nicely framing your composition. My two favorite lenses for night photography are my Canon 16-35 L and my 24-70 L. If you want to capture car trails, the wider lenses tend to capture a more dramatic scene.Don't Cheap Out
Tripods are an all-important piece of the equation as well. My one main bit of advice is to invest in something that you feel comfortable putting your camera and lens on top of. Make sure you get a tripod that is sturdy and will hold the weight of your gear. I prefer carbon fiber tripods because I travel a lot, so the weight-savings are important to me.
Aluminum tripods are less expensive but weigh more and are also colder to the touch in the wintertime. A headlamp is simply a great tool to have so that you have a hands-free light source in dark areas. I prefer headlamps with the red light so you can work at night and not lose your night vision.
What Setting Should You Use?
Now that you know what gear you need, we can talk about camera settings. One way to think of night photography settings is that everything you know from shooting in the daytime is on its side. That simply means that instead of stopping motion or eliminating blur, you’re capturing it. Two settings that you can use as a good starting point in almost any situation are ISO 100 and F9. Both of them will give you a good starting point for long exposure photography at night. I shoot 99% of long exposures at night on ISO 100.
There are certainly reasons why you would change the aperture from a creative standpoint, but I try to stick to F9-F11 to ensure the sharpest images possible. If you need to stop down further to get a longer shutter, go for it. Just remember that diffraction starts to come into play depending on your lens.
Whereas with other types of photography your shutter speed is generally used to stop motion, with night photography it is used to capture motion. That means we are generally talking about shutter speeds of 1 to 10 seconds or more. If you start with ISO100 and F9, you will quickly find the shutter speed where your photo is properly exposed. Don’t forget to use your histogram.
If I use shooting car trails as an example, then the shutter speed will coincide with the length of the car trail. If you find that you cannot get a long enough car trail because of the shutter speed, you can stop the aperture down to get a longer shutter. This is very similar to how you would shoot a long exposure with a waterfall or a moving body of water.
Tips and Tricks
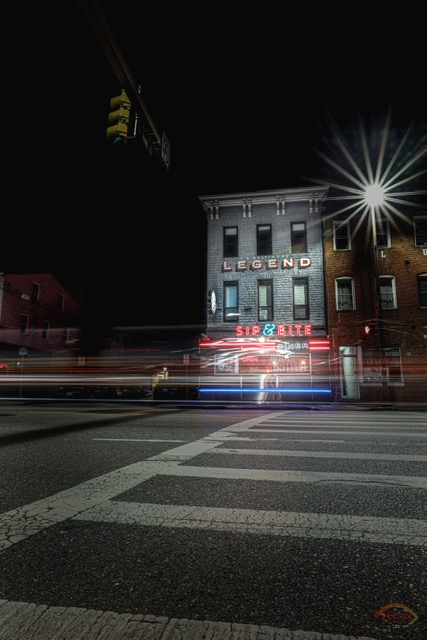
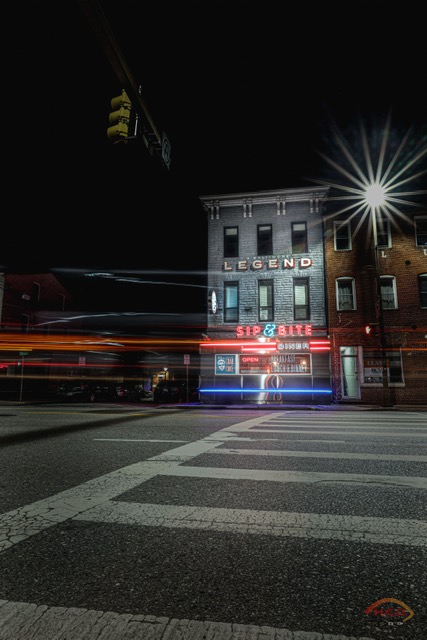
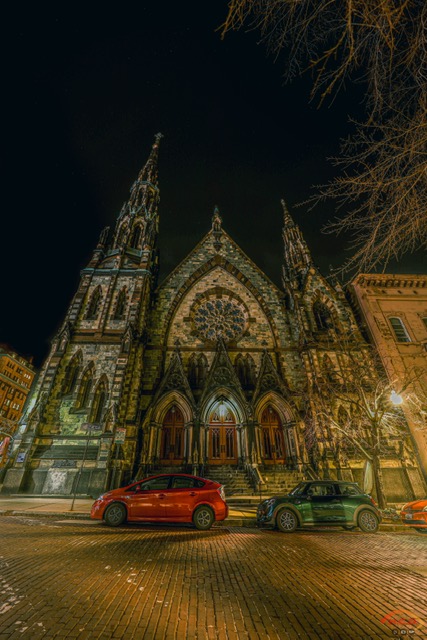
Once you feel comfortable with the gear that you have and the camera settings that you need in manual mode, it is time to go out and have some fun. Look for interesting subjects that you like. Some of my favorite things are stores and restaurants with cool neon signs, historic architecture, and streets with interesting overhead lighting features. Some things I often wait for if I can find them are things like buses, trucks, and emergency vehicles. If you get one of them driving through your shot while the shutter is open, you will get an interesting array of lights for sure. No matter where you go and what you are shooting, remember to stay safe, shoot with a buddy when you can, and always have fun. Like any other type of photography, night photography requires a lot of practice before it becomes intuitive. Get out there and see what you can create. You can find me online @HCDstudios on Facebook and Instagram. I am constantly impressed by how other photographers see the world, and I would love it if you would share your work with me.
Own one like this?
Make room for new gear in minutes.
Loading...