Lighting a Studio w/ Only 2 Lights -It Doesn't Have to be Difficult
Gear
Pierce Codina
Oct 4, 2022
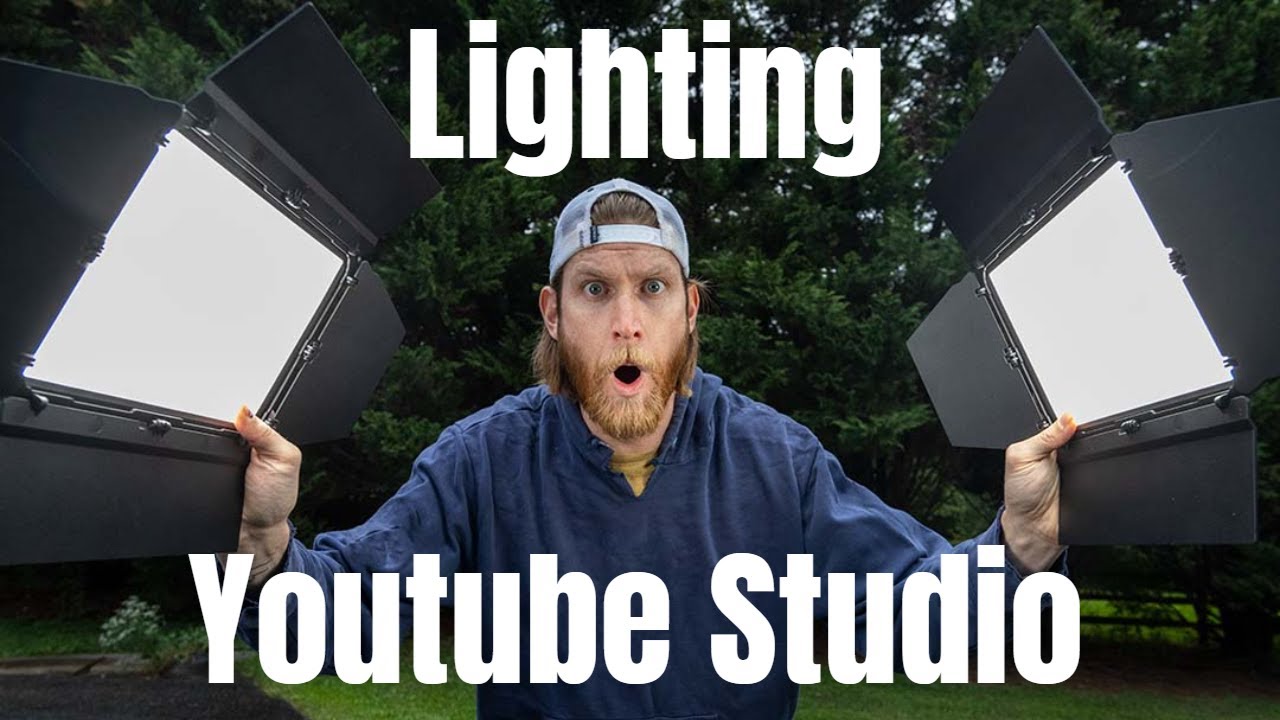
For someone looking to get started with YouTube content creation, lighting a studio may seem impossible. It may seem like you have to have a ton of gear to make great videos. Here at GearFocus, we know that’s not the case. Lighting is the one thing that will separate your videos from everyone else and you can light your Youtube studio with only 2 lights. Our good friends over at LumeCube just released their Studio Panel Lighting Kit, and I thought this would be a great opportunity to show you how to light a YouTube studio with only two lights.
Lighting a Studio
KEY LIGHT
The first thing we need to do is set, our camera angle hand and establish our key light. A key light is really just a fancy term for the main light source. This is going to be where the majority of our light for our subject is coming from. The first you need to do is determine what your camera angle or angles will be. Once you find what your camera angle is going to be, you can set your camera on a tripod, turn it on and then begin lighting your scene. This way we can monitor and view what the camera is seeing while we change and move our lights. We can place our key light in one of two positions we can put our light on the same side as the camera or the opposite side of the camera. Lighting is a really good way to establish a mood for a particular scene. if you want you scene to have a brighter and happier feel, you should put your key light on the same side as the camera. If you want to have a more dark and moody feel, do you want your camera to be on the shadow side or the dark side of your subject. typically for YouTube videos I like to stay on the brighter and happier side, as opposed to dark and moody.BACKGROUND LIGHTING
With our key light established, our subject will be well lit however, our background probably will not look the way that we want it to with just a single light. In order to separate our subject from the background more, we can use what’s known as a backlight a back light is really just a light that is behind our subject that is lighting our background or our subject. If it’s lighting our subject, it’s more of a hair light, and I don’t typically like that look however, if we face the light towards our background, it will add a nice halo around our subject. Separating our subject from the background is going to give our video a much more professional look and feel. It will also allow the viewer to focus in on the subject much better, as the back light will naturally draw the viewers eye to the subject. Of course. from here you can add whatever else you want to your scene. Sometimes adding additional pops of color or even greenery and plant life to a set can really help bring it to life, literally! From time to time, we light to add RGB lighting to our sets, depending on the type of mood we are trying to portray or if we are talking about a certain product. At the end of the day, those additional items are not always needed, and 2 lights is really all you need to get started making your content! If you want to see this technique and an outdoor scene, check out our YouTube video below. If you have any suggestions for further videos, drop down in the comments down below.Own one like this?
Make room for new gear in minutes.
Loading...