DIY Trekpak Divider System for Pelican Style Cases
GearFocus
Jun 3, 2020

Are you looking for a cheaper case divider system solution than what’s out there today? Well you’re in luck. We have come up with a DIY solution at a fraction of the cost of the Trekpak system. Full instructions and list of materials needed are included. So build yours today to save money decking out all of your Pelican style cases.
The DIY Trekpack Divider System
If you own one of these hard cases, you’re probably familiar with the myriad of different divider systems and styles out there. We’ve owned several of these Pelican style hard cases over the years and used many different dividers. Which is why we wanted to offer a DIY Trekpak divider solution. This guide will only run you about $30!
Materials Needed for the DIY Trekpak
Here’s the list of materials you’ll need to put together your DIT Trekpak divider system.
- Corrugated Plastic Sheets
- Dualplex Neoprene Foam Inches X 1/4” Thick
- Adhesive Felt Fabric Sheets
- Bobby Pins
Some of these things may be just lying around your house already to save you even more money! Once you’ve got all the needed materials, you can start assembling your dividers.
Step 1: Measure Your Case

Start by measuring the case depth to see how tall you will need the dividers to be. Now that you know how tall to make them, cut the corrugated plastic into strips for your DIY Trekpak dividers.
Step 2: Apply the Protective Foam

We used self-adhesive-backed foam so there wouldn’t be any lingering spray foam smells. Cut these down to the same size as the plastic and adhere them to the strips. Be careful not to cut more than you’ll need for the plastic.
Step 3: Add Bobby Pins to Connect the Dividers
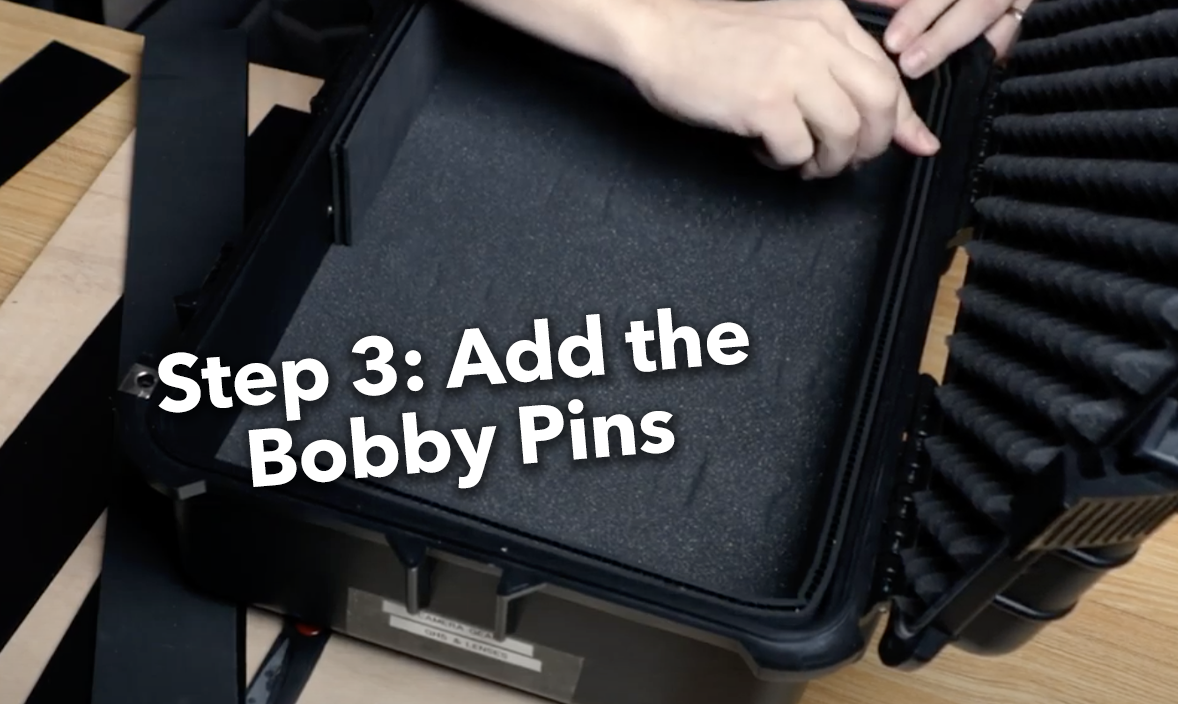
Insert the bobby pins to stabilize and connect the dividers. PROTIP: Use self-adhesive felt strips to create tabs that will make it easier to move and remove the bobby pins.
A Cheap and Easy DIY Trekpak Divider System
So that’s pretty much all there is to it: this is a super simple DIY project that should only take a few minutes to complete. When finished, your pelican-style case should look something like this.

So let us know if you have any questions on how to put this together in the comments below! And if you have any DIY Trekpak ideas of your own we would love to hear them! OR any DIY life hacks for that matter. And also be sure to let us know what project you’d like to see next in our new DIY video series.
Own one like this?
Make room for new gear in minutes.

© 2024 GearFocus. All rights reserved.