Getting Started with Golor Grading in Davinci Resolve
Gear
Pierce Codina
Sep 27, 2022
Color grading in Davinci Resolve can be a daunting task as a new videographer or editor. The first time I ever color corrected LOG footage, I couldn't understand why it looked so bad! Color grading is a beast, there’s no ifs ands or buts about it. It’s something that I’ve struggled with for years, especially when I switched to using log and raw footage. LOG footage comes out of camera very flat and very dull and needs to be color corrected for it to look pleasing to the eye. But where do we even start?!
For the purpose of this post, we are going to be learning how to get started Color grading in Davinci Resolve, as this is slowly becoming the industry standard for color grading. The program also allows us to start color grading in Davinci Resolve very easily. The first thing we need to do is get some footage to color grade! So lets pull a few of our favorite clips into our Project and place them on our timeline.
Now the first thing you might go in and do is start cranking the contrast and color sliders. Instead, we are going to convert your footage to a standard color profile like Rec.709 or Rec.2020
What is Rec.709?
Rec. 709, which is also referred to as Rec.709, BT.709, and ITU 709, is a standard developed by ITU-R for image encoding and signal characteristics of high-definition television. So what does that mean? Essentially, Rec.709 determines the color range in which your footage will be viewed. This may sound like it's limiting the way that you color grade your footage, but its really not! Rec.709 is a standard across the world, and therefore is used as one of the main ways footage is viewed. If we first convert our footage to the REC.709 color space, we will be able to more accurately see how our image will be portrayed across all platforms.
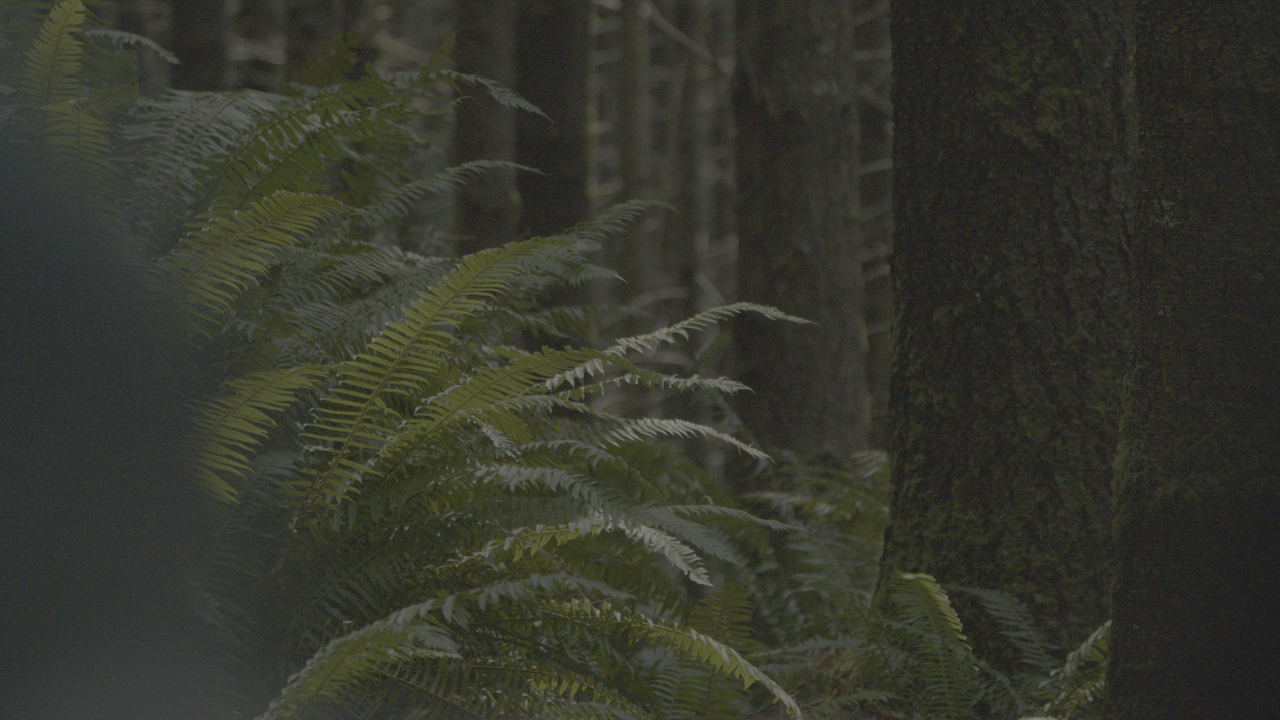
[caption id="attachment_4769" align="alignnone" width="600"] Ungraded LOG Footage[/caption]
Ungraded LOG Footage[/caption]
[caption id="attachment_4770" align="alignnone" width="600"]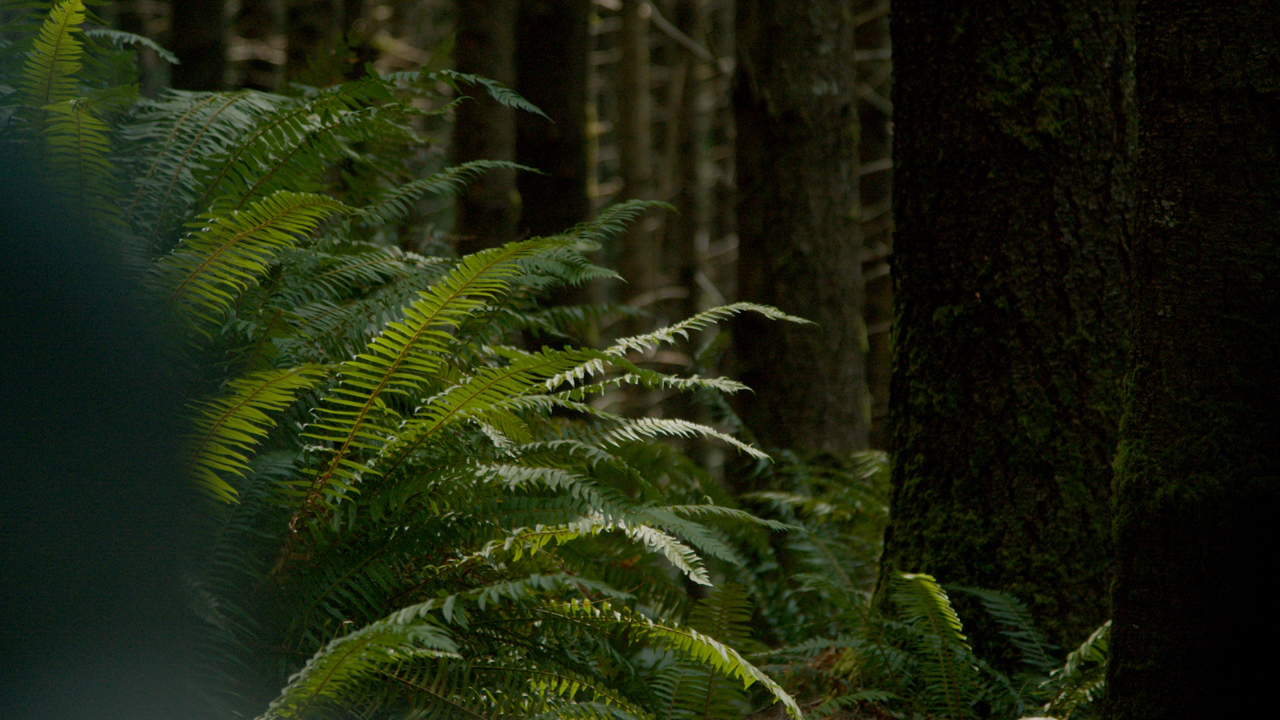 Image converted to REC.709[/caption]
Image converted to REC.709[/caption]
How do you convert your footage to Rec.709?
Like I mentioned before, the process of converting your footage to rec.709 in Davinci Resolve is really simple. With our color panel open, we are going to add a new node to our clip by pressing CTRL+S on our keyboard. Next, we are going to add the COLOR SPACE TRANSFORM effect to that node. In the effects panel, simply input the color information for your clip, and select REC.709 as your output settings.
Boom! You are done! Theoretically, this is color graded and could be published this way. In fact, this is usually how I color grade content for social media posting, since its so quick. Now if you wanted a certain look, you can go ahead and create that but now we know exactly what our color space is and what it looks like, so we can operate in the constraints of that.
It took me years to learn this and once I did it changed the game for me in terms of color. I don’t hate my grades anymore! Still don’t love them but we are improving slowly but surely! I just wanted to share this tip with you so you can save yourself years of frustration like I have done and hopefully you spend more time being creative in your editing world.
If you'd like to see a step by step guide, check out our Youtube tutorial here!
Looking for some other helpful DaVinci Resolve Tutorials? Check out our videos below and start improving your video editing in DaVinci Resolve. Looking for a specific tutorial? Let us know in the comments and we will consider for future tutorials.
Own one like this?
Make room for new gear in minutes.
Loading...